


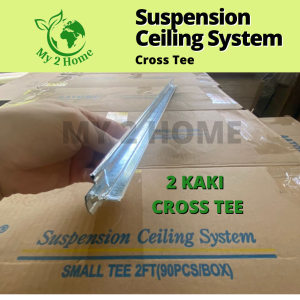
MY2HOME Ceiling Grid System Suspension Ceiling System Main Tee Cross Tee Wall Angle Besi Siling Plaster Besi Ceiling Tee Tulang Siling Office
A typical dropped ceiling consists of a gridwork of metal channels in the shape of an upside-down "T", suspended on wires from the overhead structure. These channels snap together in a regularly spaced pattern of cells. Each cell is then filled with lightweight ceiling tiles or "panels" which simply drop into the grid.Application:Office Ceiling, Shop lot Ceiling, Suspended Area Ceiling Warehouse ceiling, Household Ceiling & etcMaterial:G.i With powder coatedProduct Details:2 / 4 feet Cross Tee : Shorter steel beams that run perpendicular and parallel to main beams to form the grid openings that support the tiles.5 feet Main Tee : Load-bearing beams of a suspension system that are hung with hanger wires.6 feet Wall Angle : Attaches to the wall to support tiles and offers a consistent visual to the main beams and cross tees for a finished look.Installation Guide1. Hang Main Beams – Cut the first main beam to make sure there is a cross tee hole where your pre-determined first border cross tee is to be located. The first cross-tee hole in each row of main beams must line up. Always put the cut end of the main beam on the wall molding. To hang, simply slide each hanger wire or QuickHang hook through one of the small round holes in the main beam. Repeat these steps for the second main beam.2. Install the Cross Tees – You will need to measure and cut the border tees to the border panel size. Place cut end of tees on wall molding and connect the uncut end to main beam. Now insert the first two uncut cross tees in line with the border cross tees. When connecting two cross tees in the same rectangular hole in a main beam, insert the second tee into the slot by passing on the right side of the already installed tee.3. Install the Wall Angle – Mark the desired new ceiling height on the wall. Snap the chalk line tool to create this guideline. Repeat on all walls. Be sure to make sure all lines are level and match around the room. If you have a laser level handy, you can use that for a quicker way to mark where the molding will be placed. Next, nail wall molding to studs. For concrete or stone walls use appropriate fasteners or substitute the wall molding by hanging a main beam runner from the joist closest to the wall.

My 2 Home
You May Also Like
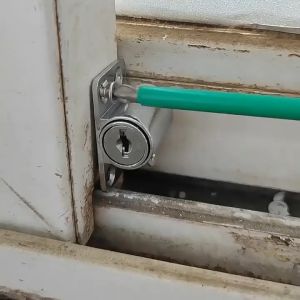
2 Pack Sliding Window Lock With 2 Keys Patio Window Bolt Catch Push Security Lock
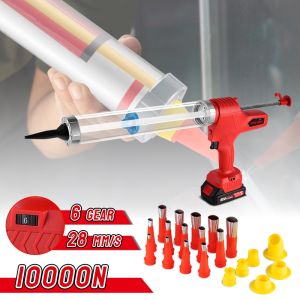
Fast Shipping🚚Cordless Electric Caulking Glue Machine 14 Nozzle Lithium glass glue machine 6 Speed Automatic Electric Caulking machine Heavy Duty Glass Hard Rubber Sealant machine Power Tool

Polishing Paste Wax Compound 500g ( Grade AA ) Abrasive Paste Bright Polish Silver Batu Polish Wax
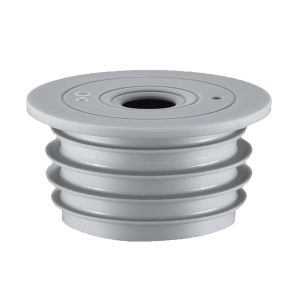
Practical Deodorant Silicone Core Bathroom Accessories Floor Drain Pipe Drain Cover Kitchen Insect Resistant Durable
![[Upgraded] 2023 Nano Tape 1/3/5m Double Side Tape Strong Tape Power Double Tape Viral](https://img.lazcdn.com/g/ff/kf/Sf724a96d01c844338c718e9eddf4f121K.jpg_300x300q80.jpg)
[Upgraded] 2023 Nano Tape 1/3/5m Double Side Tape Strong Tape Power Double Tape Viral
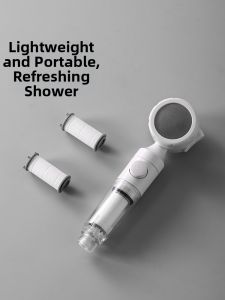
FaSoLa | Travel Portable Pressure Boost Mini Skin-care Filter Shower Head
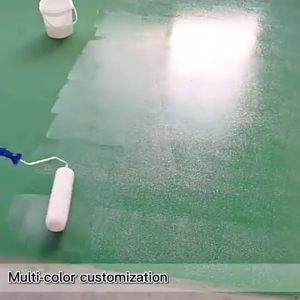
-Svisbell.my- 10 in 1 epoxy flake coating epoxy floor coating tile coating Wear Resistant Anti Slip For WarehouseGarageFactory

Wera 020100 Joker 6004 S Self-Setting Spanner 05020100001 Adjustable Wrench 7" Sepana Hidup EDC
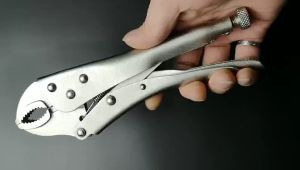
Powerful multi-purpose heavy-duty industrial-grade afterburner pliers holding tools quick sealing fixed clamps
![[Customized Length/Heavy-duty] Aluminium profile/conveyor/engineering 40 series (4040 A 4040 AA 4080 & 40120) table leg rack structure DIY](https://img.lazcdn.com/g/ot/common/5a32169ff8244c4bbcbe861f2ef3cff4.png_300x300q80.png)
[Customized Length/Heavy-duty] Aluminium profile/conveyor/engineering 40 series (4040 A 4040 AA 4080 & 40120) table leg rack structure DIY
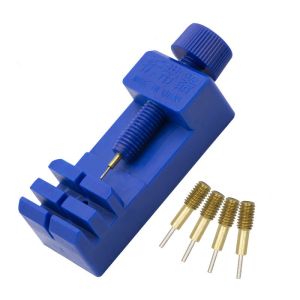
Watch Strap Adjuster Disconnector Watch Special Disassembly Strap Tool Conditioner Remover DIY Kit